Dealing with broken threads can be a significant issue in any mechanical or industrial project. Whether the damage was caused by over-tightening, corrosion, or cross-threading, it will compromise the connection and integrity of the assembly.
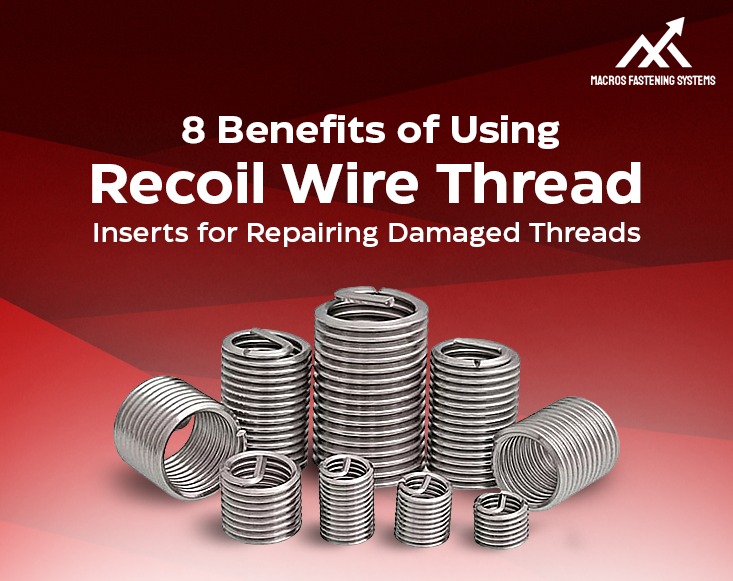
Fortunately, Recoil wire thread inserts present an effective, reliable, and long-lasting solution for thread repair. These are indispensable for anyone who wants to repair damaged threads quickly and efficiently.
In this blog, we’ll look at the benefits of using Recoil wire thread inserts, how they aid in the repair of damaged threads, and why they’re superior to other repair methods. This solution can be beneficial for any automotive repair work, machinery maintenance, or precision engineering application where time, money, and effort may be saved.
1. Efficient and Reliable Thread Repair
The threads are stripped or damaged, and it takes a lot of time and money to replace the entire component. Recoil wire thread inserts restore the threads to their original strength and functionality without the need to replace the base material.
These inserts will create a new internal thread with the help of a precision-formed coil inserted into the damaged hole, and this will ensure that the connection is more robust and stronger than that of the original threads. They are particularly useful in aluminum, which is prone to thread damage due to the softness of the material. You can repair the damaged threads without compromising the quality of the assembly by using Recoil wire thread inserts.
2. Stronger and More Durable Threads
The other important advantage of Recoil wire thread inserts is that it develops a stronger thread. Once inserted, loads are evenly spread across the threads, hence increasing their durability and performance.
Made of high-quality stainless steel, recoil inserts have the strength to resist wear and corrosion while enduring the toughest environmental conditions. These designs spread out the load for further prevention of damage and thus prolong the life of a repair. This is especially true for applications where high-stress environments can be expected and where traditional thread repair solutions will fail.
3. Compatibility with Tanged and Tangless Inserts
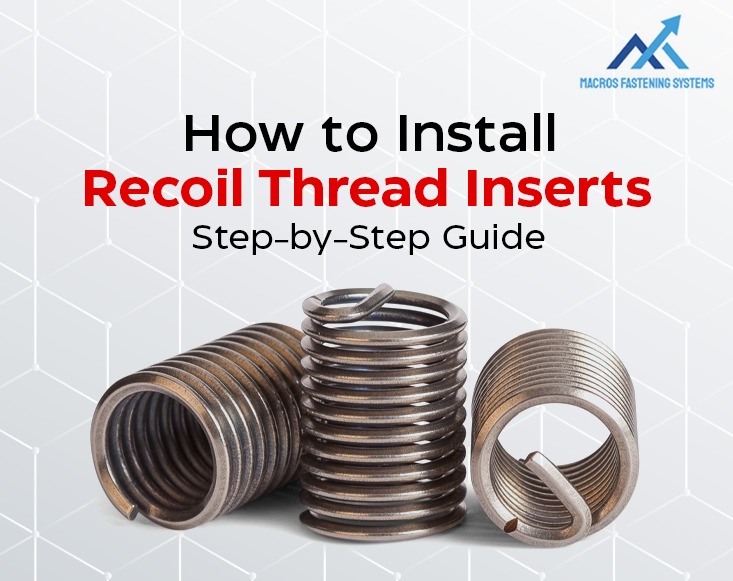
Recoil wire thread inserts come in both tanged and tangless varieties, offering versatility to meet different project needs. This features a tang (a small tab) that assists during installation. After the insert is in place, the tang can be easily snapped off and discarded.
These are designed without a tang, which means there’s no need for removal. This makes them perfect for applications where avoiding foreign object debris (FOD) is crucial, such as in aerospace and precision industries. This compatibility enables users to select the appropriate insert type based on their specific requirements, ensuring a smoother installation process and improved efficiency.
4. Cost-Effective Solution
Replacing damaged components can be costly, particularly for specialized machinery or large parts. Utilizing Recoil wire thread inserts offers a budget-friendly solution that restores functionality at a much lower cost.
Rather than replacing the entire part, thread inserts enable quick and effective repairs to the existing component. The repaired threads are often more robust than the originals, decreasing the likelihood of future thread damage and reducing downtime. For industries where time and budget constraints are critical, this solution provides substantial savings without sacrificing quality.
5. Easy and Quick Installation
Installing Recoil wire thread inserts is a pretty simple process that requires minimal tools and expertise. Whether you are an experienced technician or a DIYer, you will find the repair to be fast and easy.
The entire installation process can be done in just a few minutes, significantly reducing the time for repair and improving productivity. Such an easy approach makes Recoil inserts a popular choice for fixing damaged threads in many industries.
6. Versatile Applications Across Industries
Recoil wire thread inserts have a very wide range of applications. They are usually used in the following cases:
- Automotive Repair : To repair spark plug threads, oil pan threads, etc.
- Aerospace : For precision and reliability purposes in safety-critical applications.
- Industrial Machinery : Repairs threads in metal or plastic parts.
- Electronics and Manufacturing : Robust threads for delicate equipment.
Regardless of the industry, such inserts provide a universal answer to thread repair and improvement.
7. Improved Corrosion and Heat Resistance
Damaged threads are often subjected to harsh conditions that can lead to corrosion and eventual failure. Recoil wire thread inserts are made from stainless steel, offering excellent resistance to both corrosion and high temperatures.
It is ideal for use in marine, automotive, and industrial settings where moisture and chemicals are prevalent. It is suitable for components exposed to high temperatures, such as engine parts and exhaust systems. This durability guarantees long-lasting repairs that endure even in the toughest environments.
8. Enhanced Performance for Soft Metals
Materials such as aluminum and magnesium are lightweight and commonly used across various industries today. However, these soft metals can easily suffer from thread damage. Recoil wire thread inserts strengthen these materials by forming more robust threads that can endure higher stress and loads.
It helps prevent stripping and cross-threading. It preserves the structural integrity of the repaired threads, enhancing component performance. This makes Recoil inserts a vital tool for sectors that depend on soft metals, including aerospace, automotive, and electronics.
Conclusion
Recoil wire thread inserts are revolutionary when it comes to fixing damaged threads. Their strength, durability, and user-friendliness make them perfect for professionals and hobbyists alike. These inserts provide exceptional advantages in extending the lifespan of components, saving time, and money, for a wide range of applications.
Whether you need a tanged or tangless insert, Recoil wire thread inserts give you a reliable and versatile solution for repairing damaged threads. Thus, it ensures lasting performance. Invest in this smart, cost-effective repair method to keep your projects on track.


